|
Rob Weis | Garren Wood |  |
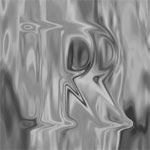
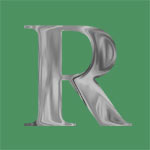
| Displacement Map | |
| Home | ||
| Portfolio | ||
| Contact Us | ||
| Services | ||
| Wallpaper | ||
| Tutorials | ||
| Stock Photography | ||
| Resources | ||
| Webmail | ||
|
||
Step #1: Channel building
Step #2: The Map
Step #3: Time for the magic
Step #4: Extracting the goods!
Feel free to email me if you're having any problems with this tutorial. I understand that it gets complicated, and that I too am learning. I'd be glad to help you out if you're really stuck! Also, I'm interested in seeing the restults of the tutorial. Send me a jpg or gif if you use the tutorial. Have fun! -Rob |